Installing carpet in your home is an excellent way to add comfort, warmth, and style to your space. While it may seem like a daunting task, laying carpet—including proper use of underlay—can be a manageable DIY project with the right tools and techniques. Here’s a step-by-step guide to help you lay carpet like a pro.
Tools and Materials You’ll Need
- Carpet of your choice
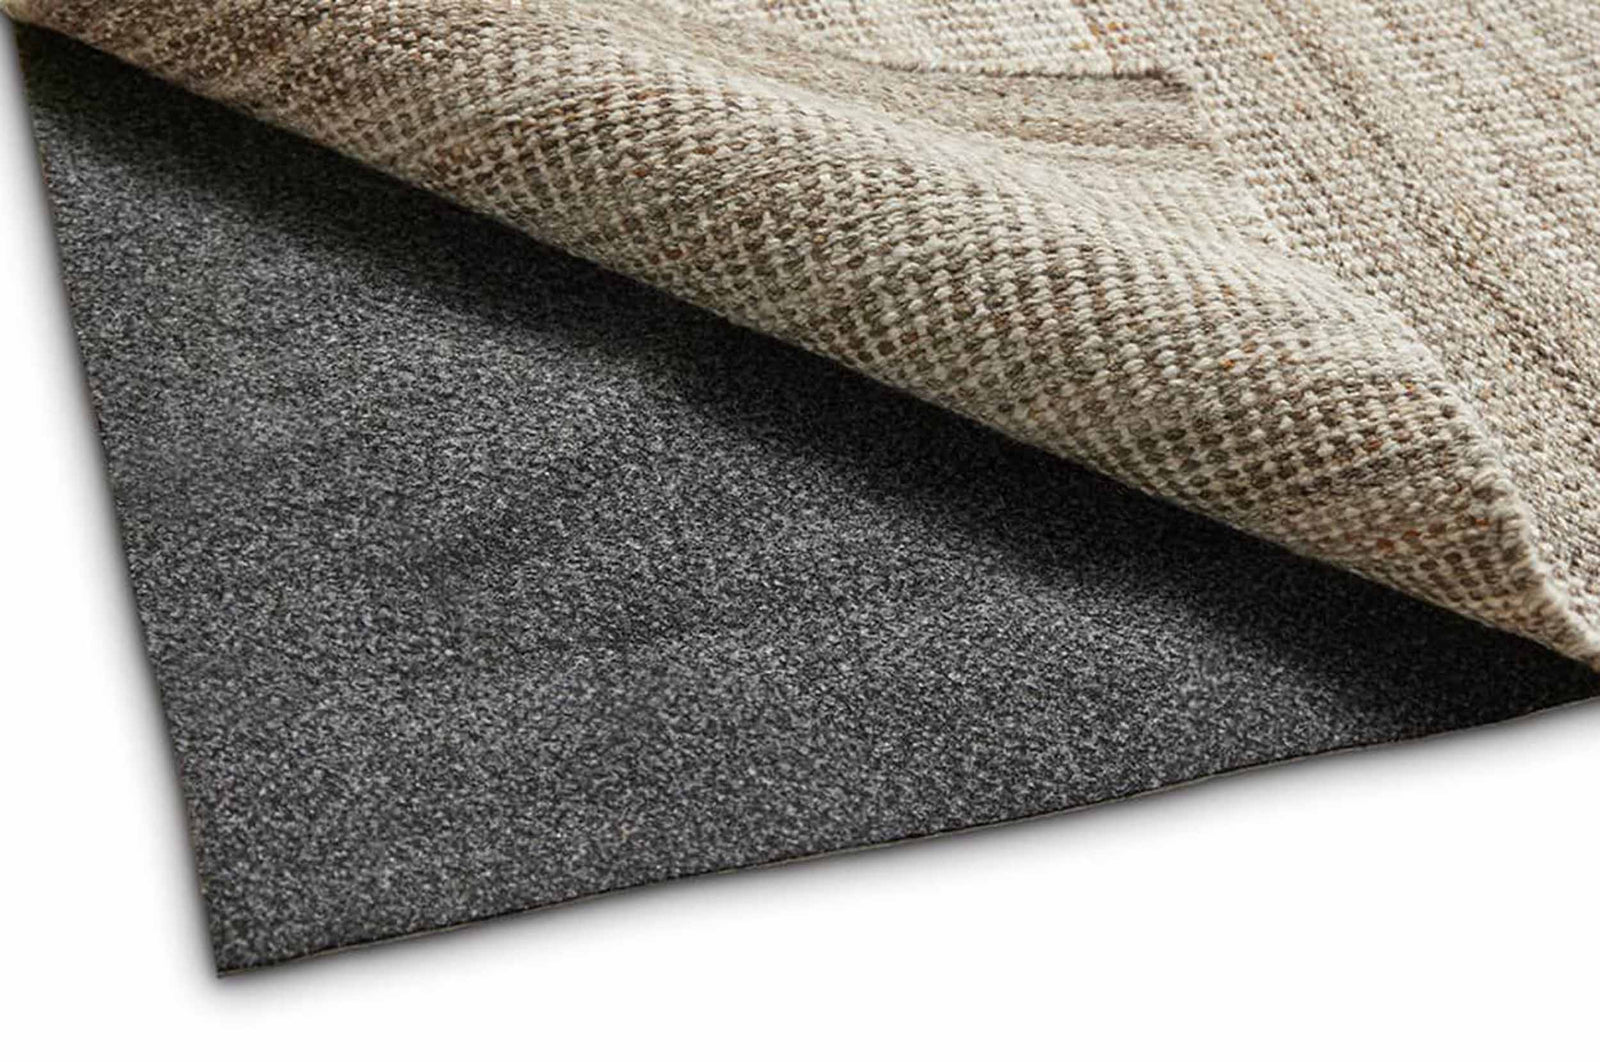
- Carpet underlay
- Carpet knife
- Staple gun or tack strips
- Measuring tape
- Carpet stretcher
- Adhesive (if needed)
- Knee kicker
- Seam roller (for joining pieces)
Step 1: Prepare the Room
- Remove old flooring: Take out any existing carpet, underlay, or other flooring to expose the subfloor.
- Clean the subfloor: Vacuum and inspect the subfloor for nails or irregularities. Smooth any uneven areas.
- Measure the room: Take precise measurements to ensure you cut the carpet and underlay to the right size.
Step 2: Install the Underlay
Underlay is essential for cushioning, insulation, and prolonging the life of your carpet.
- Roll out the underlay: Lay it out across the floor, ensuring there are no gaps between the pieces.
- Trim the edges: Use a knife to trim the underlay to fit snugly against the walls.
- Secure the underlay: Staple or tape the underlay in place. Ensure the seams are taped to prevent movement.
Step 3: Position the Carpet
- Unroll the carpet: Lay the carpet over the underlay, leaving excess material around the edges.
- Align the carpet: Make sure any patterns or textures are aligned correctly for a seamless look.
Step 4: Cut and Secure the Carpet
- Trim the edges: Use a carpet knife to trim the excess carpet, leaving about 3 inches extra around the perimeter.
- Secure with tack strips: If using tack strips, tuck the carpet edges into them for a tight fit. Alternatively, staple the edges if tack strips aren’t an option.
Step 5: Stretch the Carpet
A properly stretched carpet prevents wrinkles and ensures a professional finish.
- Use a knee kicker: Push the carpet towards the edges, tucking it securely into place.
- Stretch the carpet: Use a carpet stretcher to pull the carpet tightly across the room, starting from the center and working outward.
Step 6: Join Carpet Seams (if needed)
If your room requires multiple pieces of carpet, you’ll need to join them seamlessly.
- Align the edges: Place the edges of the carpet pieces together, ensuring patterns or textures match.
- Use a seam roller: Press down along the seam to create a smooth, invisible join.
- Apply adhesive tape: Secure the seam with adhesive carpet tape for durability.
Step 7: Final Touches
- Trim excess carpet: Use a knife to remove any remaining excess carpet around the edges.
- Check the fit: Ensure the carpet lies flat and is securely attached around the perimeter.
- Vacuum the carpet: Clean the surface to remove any loose fibers or debris from installation.
Tips for Success
- Always measure twice to ensure accuracy.
- Work slowly and carefully, especially when cutting and stretching the carpet.
- Invest in quality underlay for added comfort and durability.